Welcome to my journey through Ed Tech

Tag: learning design

EdTech Workshops: Learning About Twine and Canva

Through my Multiliteracies and EdTech courses at UVIC, I have been able to participate in several workshops where we learned about technologies that can be used in the classroom. These two tech tools,  Twine and Canva, are especially cool because both teachers and students can use them to create visual stories and to present information.

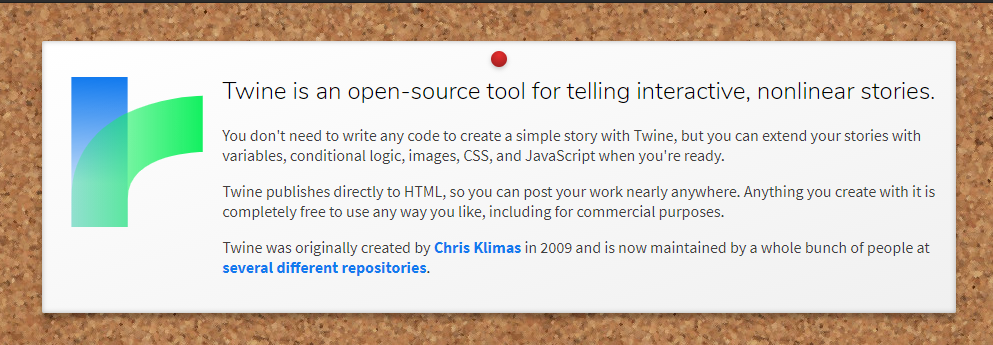
As described in the screen capture above,  Twine  can be used for creating interactive stories of varying complexity. The story can follow different pathways depending on the choices of the reader, allowing them to choose their own adventure and actively participate in decisions.

Twine is very accessible for both for first time users and those with advanced computer skills who want to make a complex project.  I could see students using Twine as a fun way to express their creativity and learning, while teachers could use it as an interactive, multimodal tool for presenting material to students.

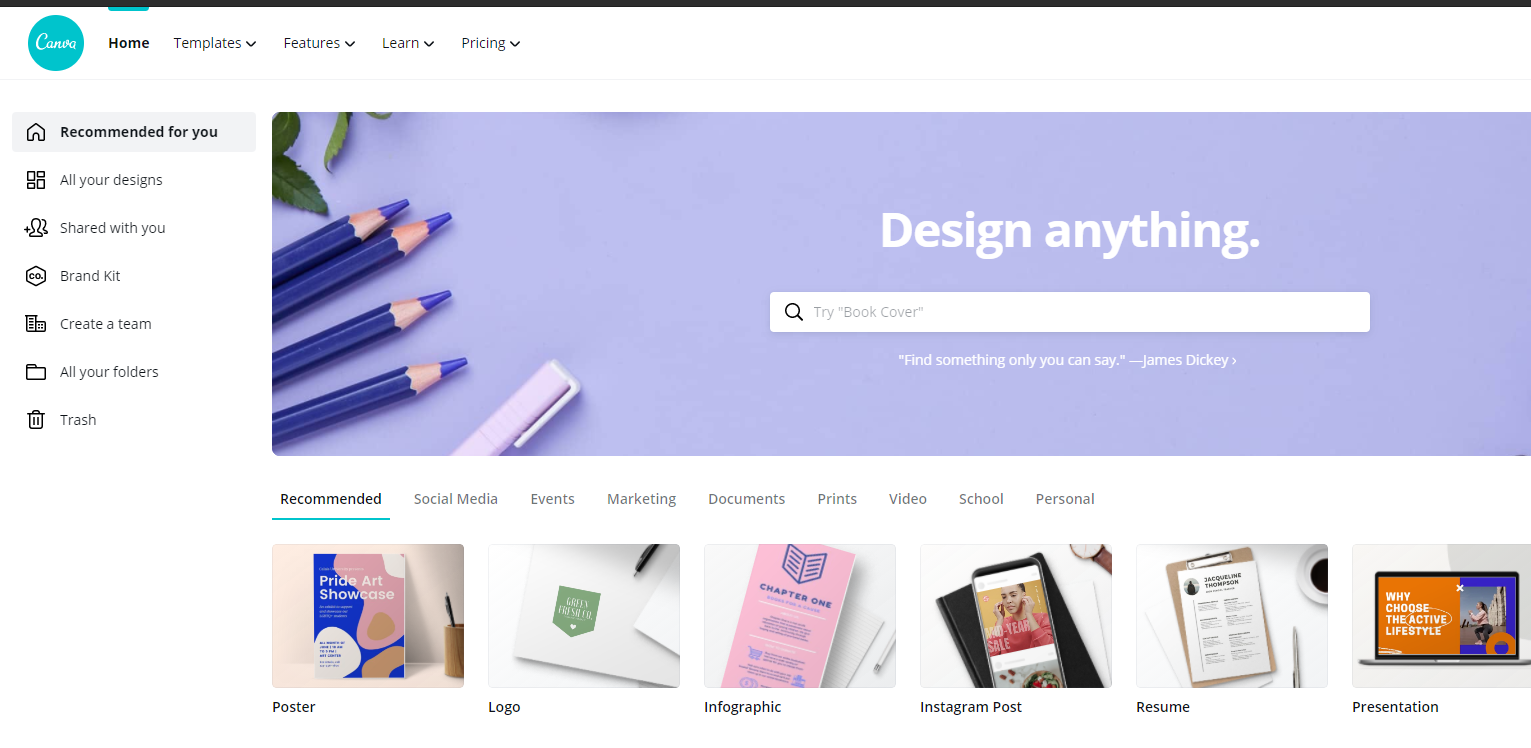
Canva is another tech tool that has an enormous range of useful design tools. From presentations, posters, infographics, social media posts, and much, much more, Canva is a tool that I will be using over and over again to create visuals and handouts for my classroom.

Here is a sample of an infographic that I made for a handout:

https://docs.google.com/document/d/1KLdc2apIZkBm8jpOO_
MeY9WcATHK9oONmOtmj3l7Rp0/edit

I highly recommend either of these tech tools for your own use!

Multiliteracies Video Begins

In my EDCI 352 Multiliteracies Across the Curriculum class, each student is making an introductory video to describe their educational journey and how they came to be in the Secondary Post-Degree Program at UVIC. I’ve decided that I will put my skimboarding video on hold to improve my video editing skills on this assignment. 

I wanted to make a picture and video slideshow presentation with an instrumental backtrack and a voice-over describing my experiences. Instead of using Powerpoint, I wanted to take this opportunity to try out some free video editing software on my Windows computer.


Video Editor Studio was the first software that I tried and it was quickly obvious that this wasn’t the one for me. Coming from my experience working with Microsoft Office and with digital audio workstations (DAWs) such as FL Studio, Pro Tools, and Ableton, I was expecting a more complex editing process. 

Through a quick exploration of every option on the interface, the lack of transition and photo options made it clear that this software wouldn’t suit my needs.


Next I tried the video editor that is built into the Windows 10 Photo Application. 

This software was much more promising. But once I began adding photos and working on customization, I knew once again that the limitations of the Photo Application would not allow me to build on my editing skills the way that I wanted to over the course of my EdTech Free Inquiry. 


I’m starting to think that I should invest in a better video editing software. As I work my way through the list of reliable free options, I realise that the complexity that I’m used to in computer software and the quality of video editing that I want to accomplish might require purchasing the real thing. 

For the EDCI 352 video I’m going to record the voice-over and produce the backtrack on Ableton. Back to the familiarity of my Macbook, I will attempt to use iMovie to put together the video presentation that I’m envisioning, while editing the audio separately. It has been quite awhile since I’ve used iMovie and I’m interested to see the depth of the customization options!

© 2024 My Education Blog

Theme by Anders NorenUp ↑